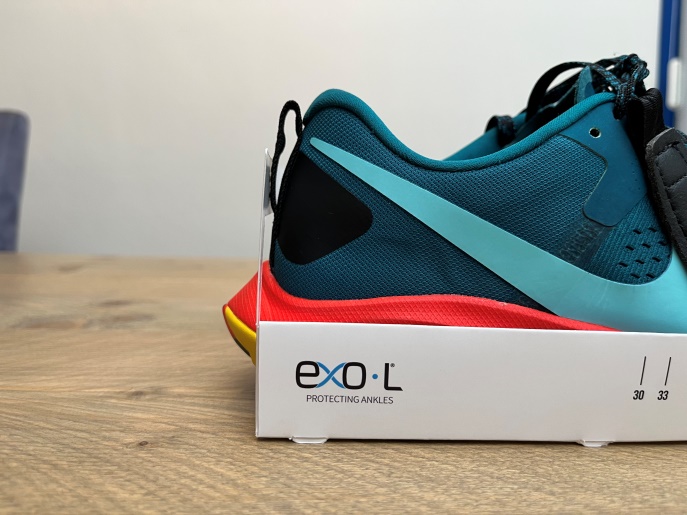
This manual provides instructions on properly attaching the shoe attachment to use your EXO-L anklebrace. You stick the shoe attachment onto the shoe and a cobbler will sew it securely for you.
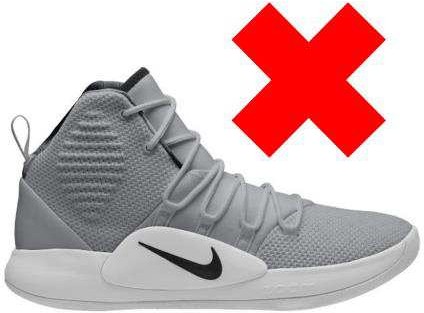
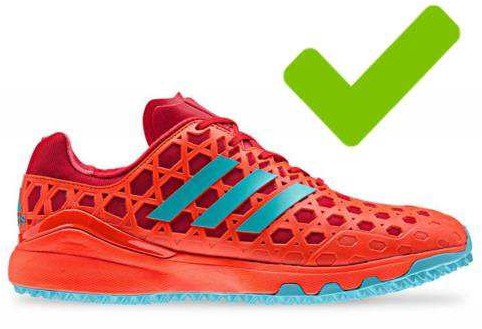
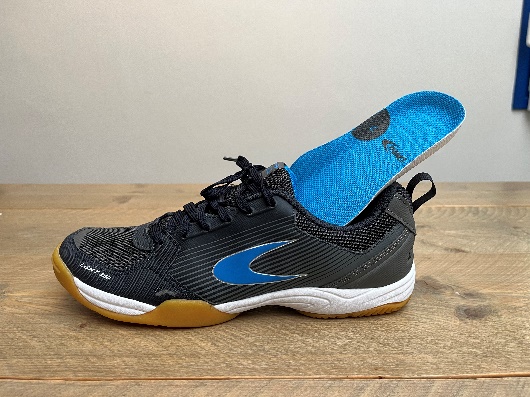
The EXO-L shoe attachment can only be installed on low-cut shoes. Please refer to the examples below.
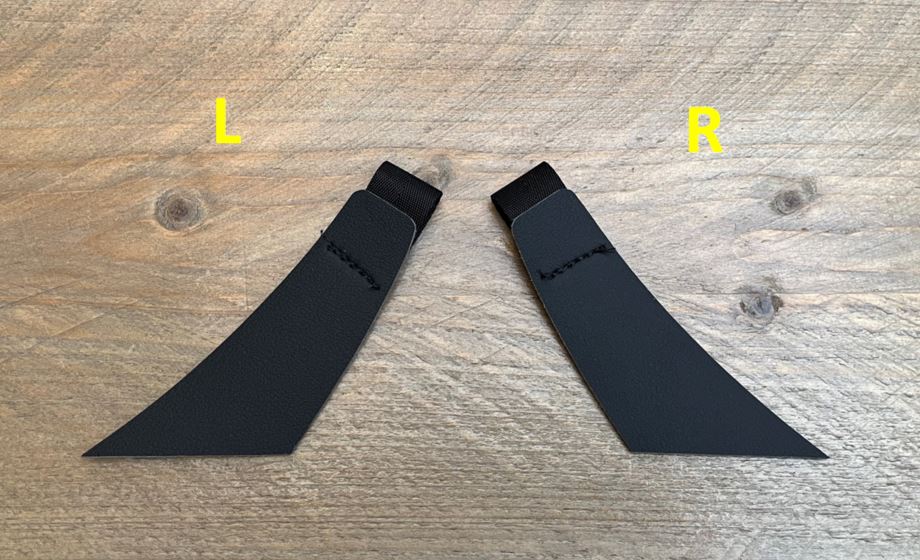
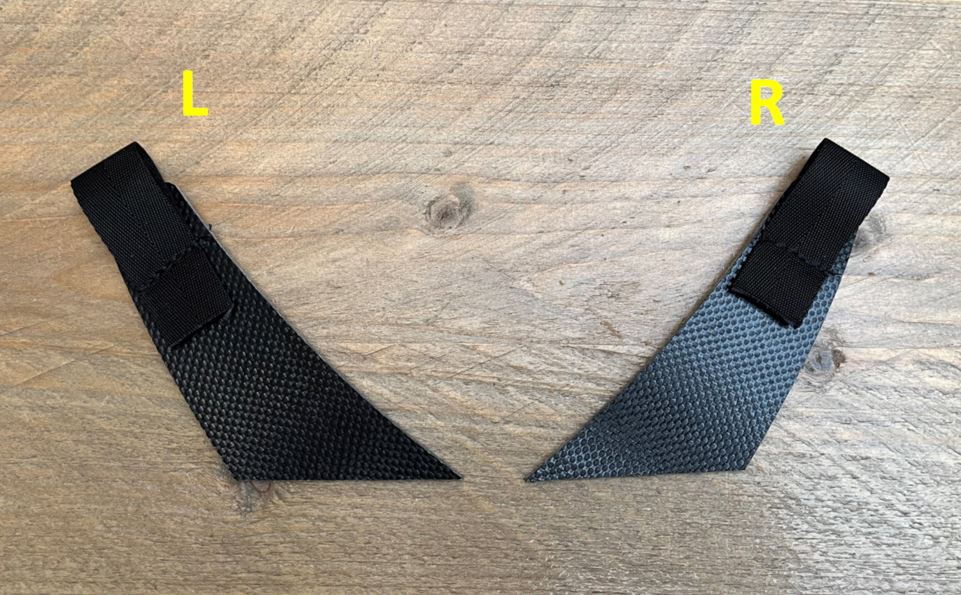
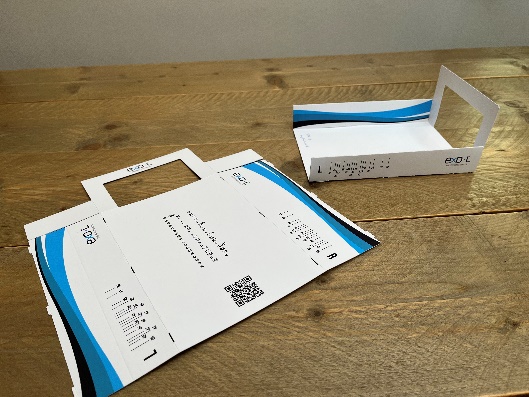
Front of the shoe attachment
backside of the shoe attachment
Positioning
Step 1
Fold the positioning tool together.
Step 2
Remove the insole (if possible)
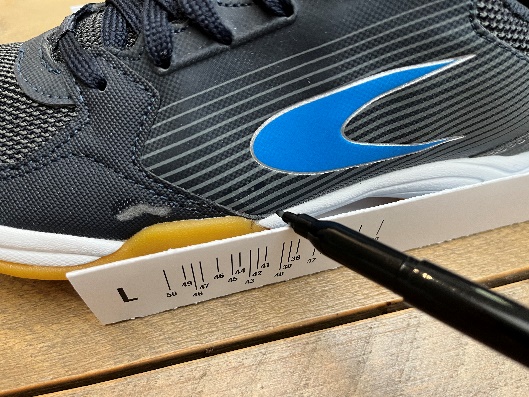
Step 3
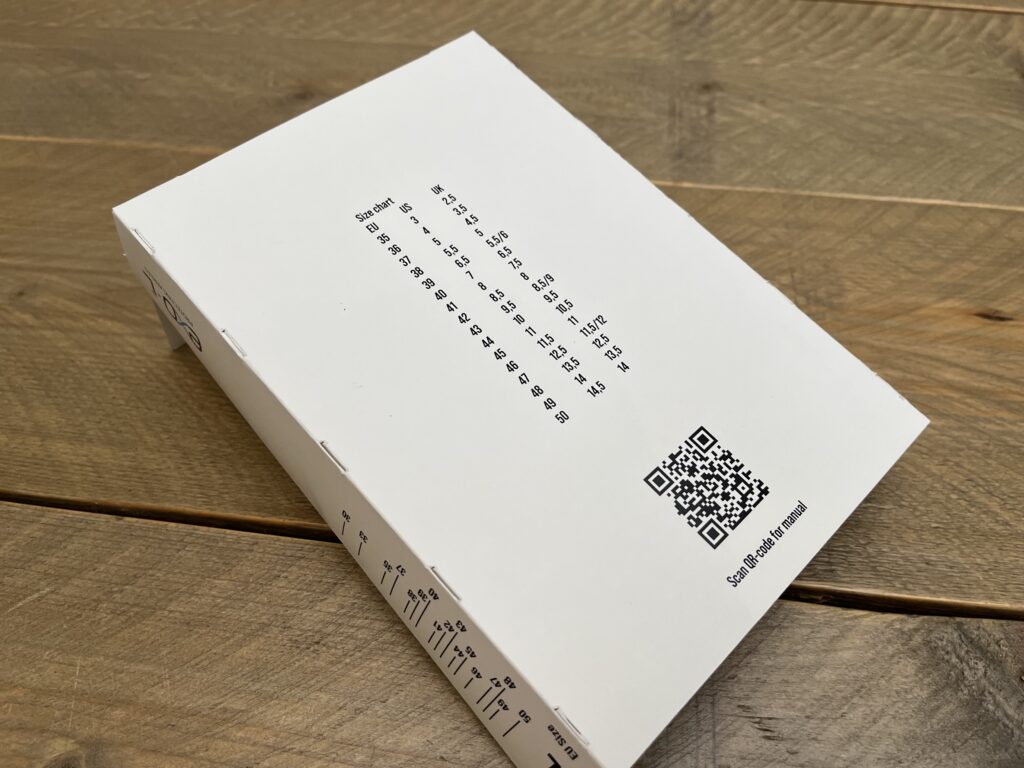
Check the size of the shoe and use the indicated EU shoe size. If only the US or UK size can be found, use the Size chart at the bottom of positioning tool to convert the shoe size.
Step 4
Place the shoe in the positioning tool. Ensure that the shoe is on the correct side (L/R) and that both the side and back of the shoe are against the side and back of the positioning tool.
Attention!
If the sole protrudes at the heel, place it through the opening at the back of the positioning tool (see photo).
Be careful not to push the shoe too far back and deform the positioning tool.
Let op dat dat u de schoen niet te ver naar achteren drukt en daarmee de positioneringstool vervormd.
Step 5
Place a small marking point on the shoe at the correct size (EU/FR). NOTE: place the marking point as close as possible to the shoe sole.
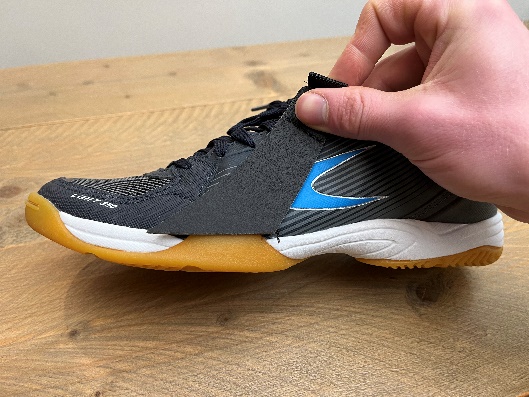
Step 6
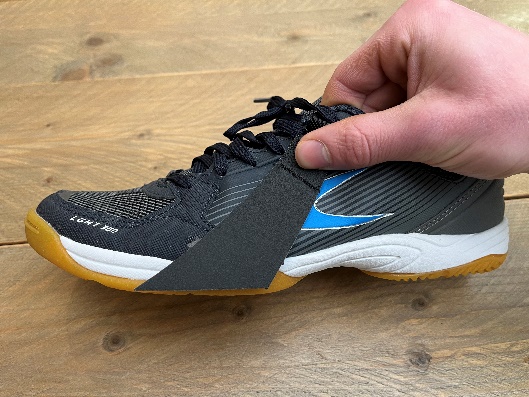
Take the left or right shoe attachment and place it with the back against the side of the shoe.
Place the (blunt) corner of the attachment exactly on the marking point and keep the bottom of the attachment parallel to the surface.
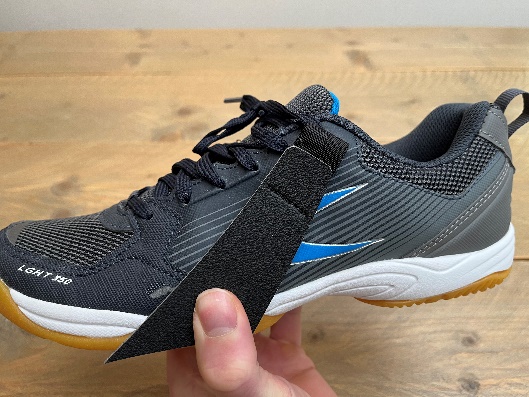
Step 7
Slide the shoe attachment with the angled side down along the marking point until the leather part comes out from under the laces and the lace holes.
Make sure that the attachment is as high as possible on the shoe without blocking the lace holes.
The bottom of the attachment should be parallel to the table surface. This ensures the correct angle of the shoe attachment.
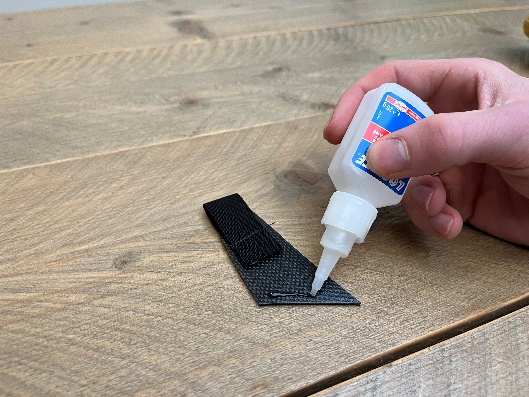
Step 8
Draw a cutting line on the attachment at about 0.5 cm above the shoe sole, following the line of the shoe sole as much as possible. Cut the attachment to the correct size. Round the corners slightly.
Step 9
Glue the bottom of the attachment to the shoe at the previously determined position. Use the blunt corner and your marking point for this.
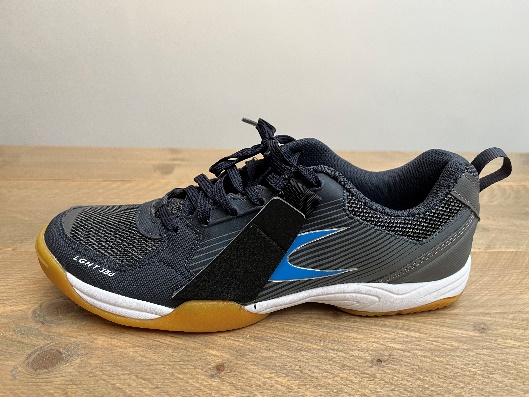
Step 10
Have the attachment stitched onto the shoe. Ask the cobbler to sew the shoe attachment firmly according to the method shown below.
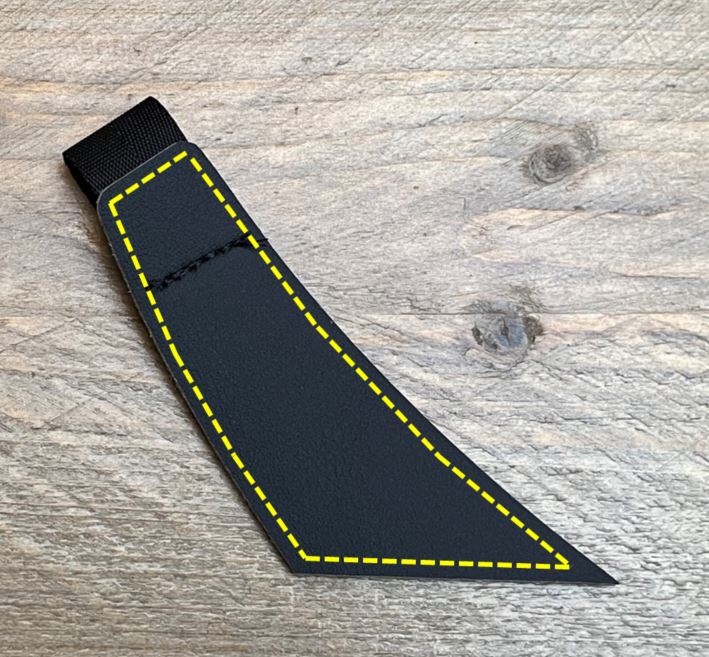
Instructions cobbler
The yellow dotted line is the stitch line through the shoe adjustment to attach it to the shoe. Maintain a constant distance from the edge (3mm).
Need help?
It is only permitted to attach the shoe attachment to a shoe with the above instructions and the correct materials (supplied by EXO-L suppliers).
Do you want to make sure the shoe attachment is properly attached to your shoe? Take a photo and send it to info@exo-l.com. We will check it for you!
If you are having trouble and need help, please feel free to contact us by emailing info@exo-l.com or calling +31 (0)85 130 7291.
COOKIES
Wij gebruiken functionele cookies, om deze website goed te laten functioneren, analytische cookies waarmee wij het gebruik van de website kunnen meten en social media cookies om je gerichte advertenties via social media te laten zien.
This website uses cookies to improve your experience while you navigate through the website. Out of these cookies, the cookies that are categorized as necessary are stored on your browser as they are as essential for the working of basic functionalities of the website. We also use third-party cookies that help us analyze and understand how you use this website. These cookies will be stored in your browser only with your consent. You also have the option to opt-out of these cookies. But opting out of some of these cookies may have an effect on your browsing experience.
Necessary cookies are absolutely essential for the website to function properly. This category only includes cookies that ensures basic functionalities and security features of the website. These cookies do not store any personal information.